Did you know that one in four homeowners battles clogged or damaged dryer vent hoses? That’s a scary statistic, considering a malfunctioning vent can lead to fire hazards, reduced dryer efficiency, and even mold growth.
In fact, 27% of home fires are caused by lint accumulation in the dryer vent. Fortunately, this comprehensive guide will help you confidently tackle dryer vent hose repair. We’ll break it down into five simple steps, equipping you with the knowledge and tools to get your dryer breathing easy again.
By the end of this article, you’ll have the knowledge to safeguard your home from potential hazards while optimizing your dryer’s performance.
Dryer Vent Hose Repair Step-by-Step Instructions
Before we jump into the action, let’s gather the tools and materials needed to conquer this repair like a pro!
Tools and Materials Needed
Before embarking on a dryer vent hose repair, gather the essential tools and materials to ensure a smooth and efficient process. Here’s a concise list to guide you:
Tools:
- Screwdriver (flathead & Phillips): Unscrew hose clamps and access dryer components.
- Pliers (optional): Tighten stubborn clamps securely.
- Utility knife: Cut damaged hose sections precisely.
- Vacuum cleaner: Remove lint buildup effectively.
- Flashlight: Illuminate hidden areas behind the dryer.
- Safety glasses and gloves: Protect yourself from dust and debris.
Materials for Repair:
- Duct tape (high-temperature grade): This is for temporary fixes and sealing minor tears.
- Hose clamps (heavy-duty): Securely fasten repaired or replaced hose sections.
- Replacement dryer vent hose (4-inch diameter, appropriate length): For extensive damage or hose replacement.
- Aluminum foil (optional): Create a smooth transition when patching minor hose gaps.
Preparation is key! Having these tools and materials handy will streamline the repair process and ensure you have everything you need to tackle the vent hose like a champion.
——
Do You Need to Hire Chimney & Fireplace Expert?
Get free quotes from qualified experts near you. No commitment required!
——
Step 1: Identifying the Problem
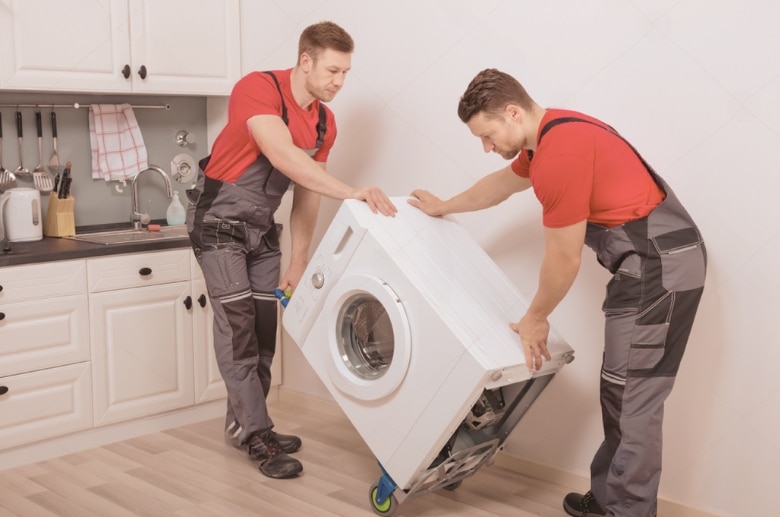
Before we tackle the repair, safety first! Unplug your dryer and move it away from the wall to access the hose.
Inspect the hose thoroughly:
- Look for visible tears, holes, or cracks.
- Feel for lint buildup or kinks that restrict airflow.
- Check for loose or disconnected sections along the hose.
Safety Tip: Use a flashlight to illuminate hidden areas behind the dryer. Consider wearing safety glasses and gloves to protect yourself from dust and debris.
Based on your inspection, determine the repair approach:
- Dryer Cleaning: If only lint buildup is present, proceed to Step 3: Clearing Blockages.
- Patching: For minor tears or holes, head to Step 2: Repairing Tears and Holes.
- Replacement: If the hose is severely damaged or disconnected, follow Step 5: Replacing Damaged Hoses.
Step 2. Repairing Tears and Holes
This step is specifically essential in dealing with minor damages, like tears or holes.
This is because even minor damage can allow unwanted airflow, leading to drafts, loss of heat, and potential smoke backdrafts into the home.
First, gently clean the damaged area with a damp cloth and cut a patch of aluminum foil slightly larger than the tear or hole.
Place the patch over the opening on the inside of the hose. Then, wrap duct tape around the hose firmly, covering the patch completely. This will ensure an airtight closure.
For reinforcement, apply another layer of duct tape over the patch on the outside of the hose. You can also use foil tape. Remember, this is a temporary fix. Consider replacing the hose for long-term reliability.
Step 3. Clearing Blockages
Dealing with blockages caused by lint buildup can be frustrating, but here’s an easy way to resolve the issue.
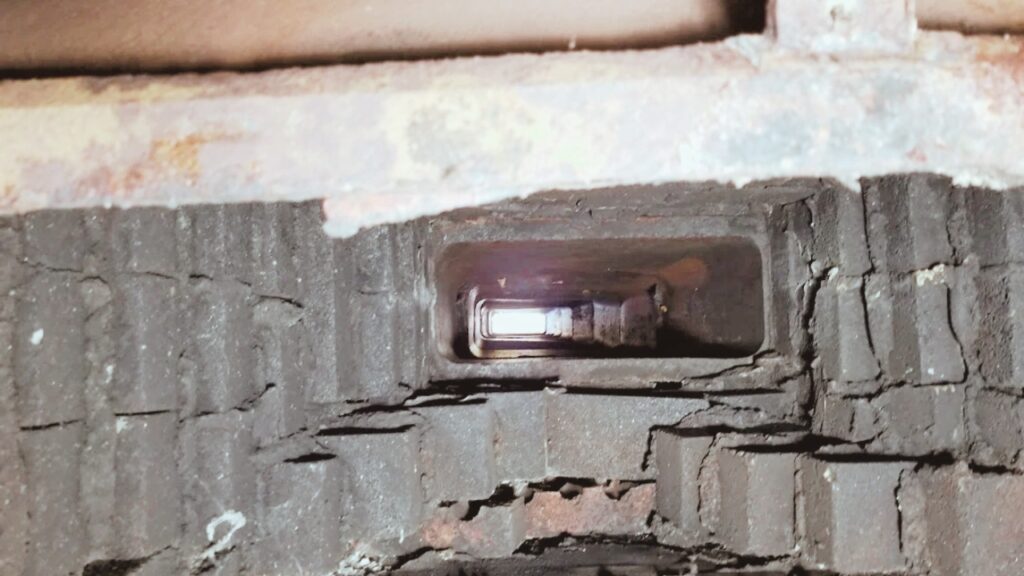
First, locate the vent outlet on the exterior of your home. Inspect the vent hose for any visible debris or obstructions, such as lint buildup, bird nests, or leaves.
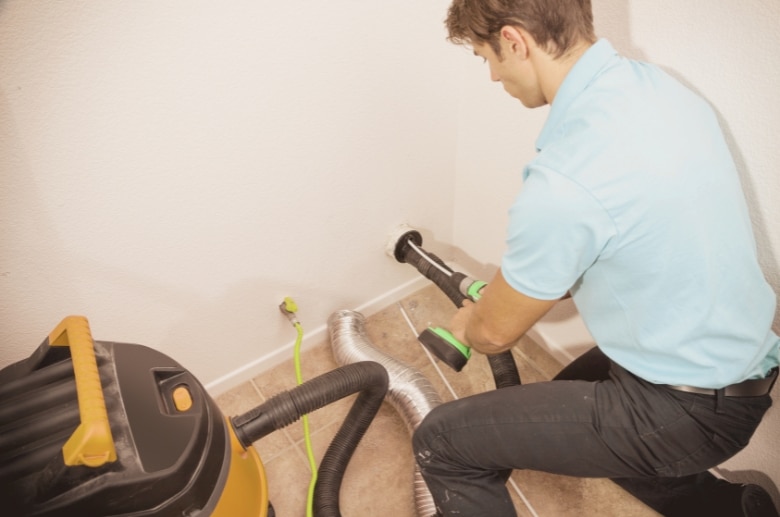
Use these steps to clear blockages:
- Disconnect the hose from the dryer and wall vent.
- Use a vacuum cleaner with a hose attachment to thoroughly clean the entire length of the hose, removing all lint and debris.
- Consider cleaning the dryer vent opening in the wall and the exhaust vent outside your home for optimal airflow.
Pro tip: Regular cleaning (every 3 to 6 months) is crucial to prevent future blockages and maintain dryer efficiency.
Lint accumulation in the vent hose not only restricts airflow but also poses a significant fire hazard.
Step 4. Reconnecting Disconnected Hoses
If you’re handling separated dryer vent hose sections, here’s how to safely reconnect them and ensure proper alignment and sealing:
- Inspect the Sections: Examine both ends of the disconnected hose sections for any damage or debris. Clean and remove any obstructions.
- Trimming (if needed): If the ends appear damaged or uneven, trim them using a pair of scissors or a utility knife to create clean, even edges.
- Slide and Align: Insert one end of the hose into the other, ensuring a snug fit. Align the edges carefully to prevent gaps that could leak air or lint.
- Use Clamps or Tape: Secure the connection using hose clamps or heat-resistant aluminum tape. This will ensure a tight seal and prevent air leaks.
- Test the Connection: Turn on the dryer briefly to check for air leaks or misalignments. If necessary, adjust it.
Step 5. Replacing Damaged Hoses
When dealing with severely damaged or deteriorated dryer vent hoses, replacing them faster is crucial to ensure optimal safety and efficiency. Here’s how to do it:
- Disconnect Power: To ensure safety, unplug the dryer or turn off the power source before starting any repair.
- Access the Vent Connection: Remove the clamps securing the damaged hose to the dryer and vent outlet. Carefully detach the old hose, taking note of any remaining debris.
- Inspect and Clean: Examine the vent outlet for any lint buildup and clean it thoroughly. Inspect the dryer for accumulated lint and remove it if present.
- Measure and Select Replacement Hose: Measure the length needed for the new hose and ensure it’s made of durable material. Opt for a flexible aluminum or rigid metal hose for better longevity and fire resistance.
- Attach New Hose: Secure the new hose using appropriate clamps, ensuring a tight fit. Reconnect the power and perform a test run to verify proper ventilation and dryer functionality.
By following these steps and prioritizing safety, you’ll be well on your way to a healthy and efficient dryer vent system!
Common Dryer Vent Hose Problems
Below are some of the common dryer vent hose problems.
——
Do You Need to Hire Chimney & Fireplace Expert?
Get free quotes from qualified experts near you. No commitment required!
——
Lint Buildup in the Venting System
Lint accumulation within the dryer venting system poses a severe fire hazard. Over time, lint can accumulate in the ducts, restricting airflow and causing overheating.
If this happens, prioritize regular cleaning of the dryer vents to prevent potential fire risks and maintain optimal dryer performance.
Clogged Vent Caps or Louvers
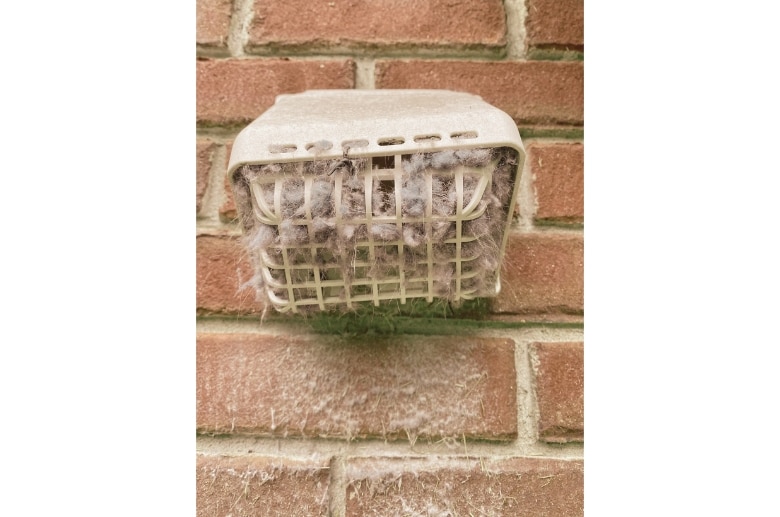
Debris can obstruct vent caps or louvers at the exterior termination point, hindering proper ventilation. This obstruction leads to reduced airflow, longer drying times, and potential overheating issues.
To avoid this, ensure routine inspection and cleaning of these external components.
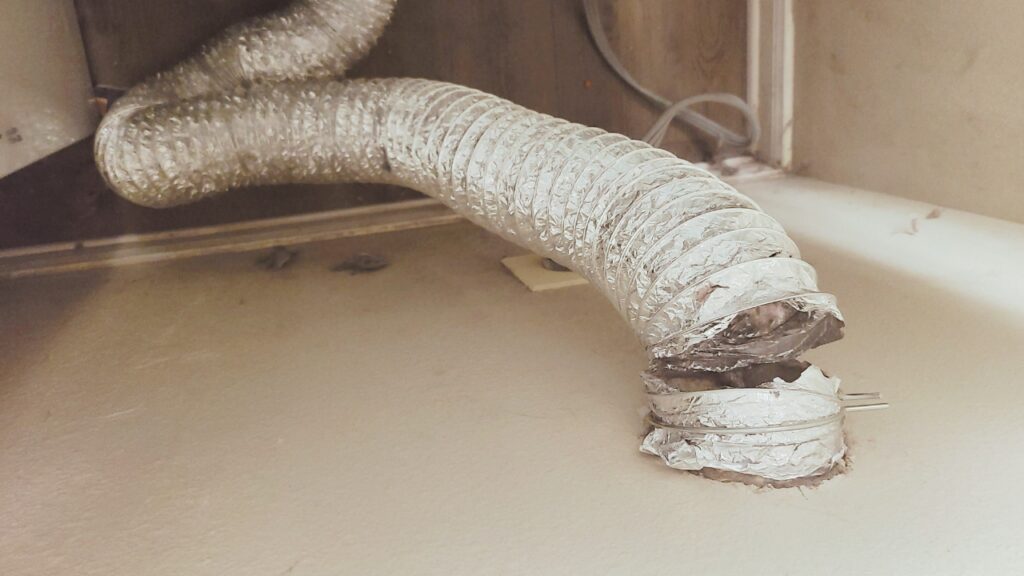
Use of White Flexible Hose Instead Of Metal
While convenient, white flexible hoses are notorious for collapsing under the hot air pressure from your dryer. This collapse restricts airflow even more than lint buildup, significantly impacting drying efficiency and creating a major fire hazard.
Always use a rigid metal vent hose specifically designed to withstand the heat and pressure of your dryer.
Incorrect Installation
Even the best hose can be rendered ineffective if installed incorrectly. Kinks, sharp bends, and excessive length can all restrict airflow and create lint traps within the hose itself.
These issues not only compromise the dryer’s efficiency but also pose safety risks, including fire hazards. Additionally, improper connections at the dryer or wall vent can leak air, reducing efficiency and potentially introducing moisture into your walls.
Perform regular inspections and ensure proper installation to maintain both optimal dryer performance and safety. Inspect the hose to ensure any dryer clamp, screws, or other fasteners are attached properly.
Tips To Prevent Future Dryer Vent Issues
Here are some key tips to keep your dryer vent hose running smoothly and safely:
1. Clean the Lint Filter Before Every Load
This may seem obvious, but it’s crucial. Lint buildup in the filter is the first step toward a clogged hose and potential problems. Make it a habit to clean the filter before and after every drying cycle.
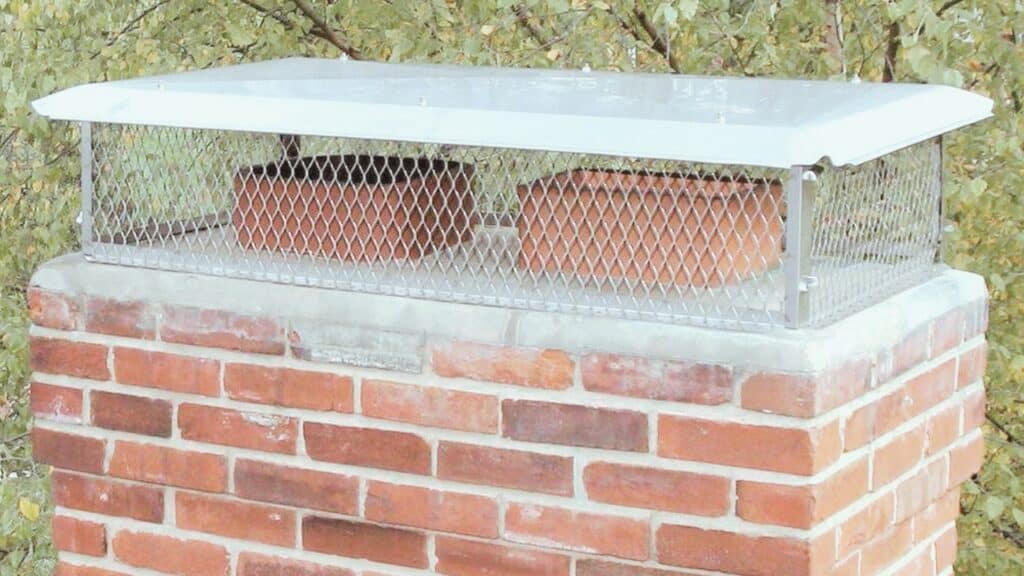
2. Protect The Exterior Vent
Safeguarding the exterior vent is essential to prevent potential blockages and maintain proper ventilation. Install a vent cover to keep out debris, pests, and weather elements.
Also, periodically inspect and clean the cover, ensuring it is free of obstructions that could impede the dryer vent’s efficient functioning.
3. Direct the Vent Outside
Never vent your dryer indoors! Ensure the hose directs moist air outside your home, ideally at least 4 inches away from any siding or flammable materials.
Additionally, regularly check the vent path for any obstructions and confirm that the outdoor vent cap opens and closes freely to facilitate optimal airflow.
4. Perform Routine Inspection
Don’t wait for trouble to strike. Inspect your dryer vent hose at least twice a year. Look for visible tears, kinks, or signs of excessive lint buildup.
Identifying signs of wear and tear early on can prevent potential issues and extend the lifespan of the dryer vent system.
Conclusion
Remember, your dryer vent hose plays a critical role in your laundry system’s safety and efficiency. By understanding the common problems, their impact, and simple preventative measures, you can keep your dryer running smoothly and your home safe from fire hazards.
Take control with these key takeaways:
- Regular cleaning: Maintain your dryer vent hose by cleaning the lint filter after every load and performing thorough inspections twice a year.
- Proactive maintenance: Address minor dryer vent hose repairs promptly to prevent them from escalating into bigger issues.
- Safety first: Always use the correct metal hose, ensure proper installation, and never vent your dryer indoors.
Need professional help? Contact us for expert dryer vent cleaning and repair services.