Are you struggling with a malfunctioning dryer vent hose? You’re not alone. This issue not only disrupts your daily routine but also poses a serious fire hazard.
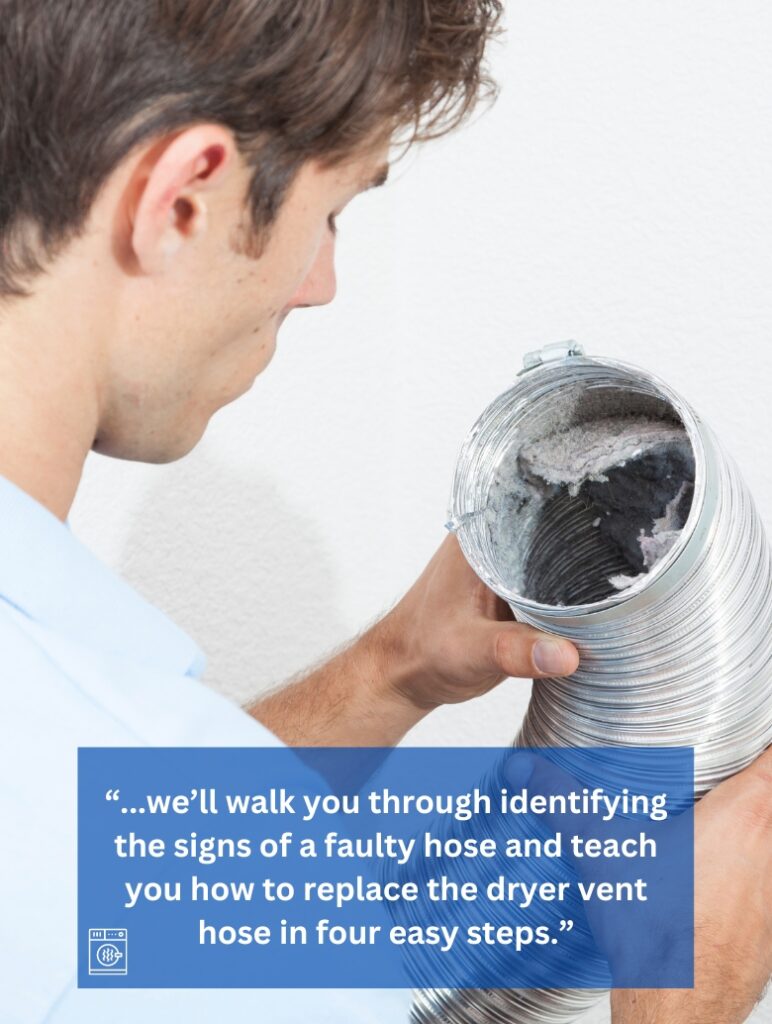
In this comprehensive guide, we’ll walk you through the steps of how to replace dryer vent hose. By the end of this article, you’ll be confident in your ability to tackle this task and safeguard your home.
Signs Your Dryer Vent Hose Needs Replacement
Here are some signs to look for that will tell you your dryer vent hose needs repair or replacement.
- Excessively hot clothes: It’s natural to expect dry clothes after using the dryer. But if they are too hot to touch, it could indicate a clogged vent. Heat cannot escape through the vent, which causes the clothes to get too hot.
- Unusually warm laundry room: A noticeable increase in the temperature of your laundry room during or after drying could mean that the vent isn’t effectively expelling hot air outside.
- Prolonged drying cycles: If your clothes are taking significantly longer to dry (over an hour for a typical load), this might not be an issue with your dryer but rather with a potentially blocked vent.
- Increased lint buildup: A surge of lint accumulation in the dryer, vent, or laundry room is another telltale sign. A simple test is to run your hand over surfaces in the room; if your hand picks up lint, it could mean lint is being expelled into the room.
- Persistent moldy smells: A constant musty odor or moisture in your laundry room can indicate poor venting. Instead of being vented out, warm, moist air circulates in the room, which leads to a humid environment.
- Rising utility bills: An inefficient dryer due to a faulty vent can lead to longer drying times and will result in increasing utility expenses.
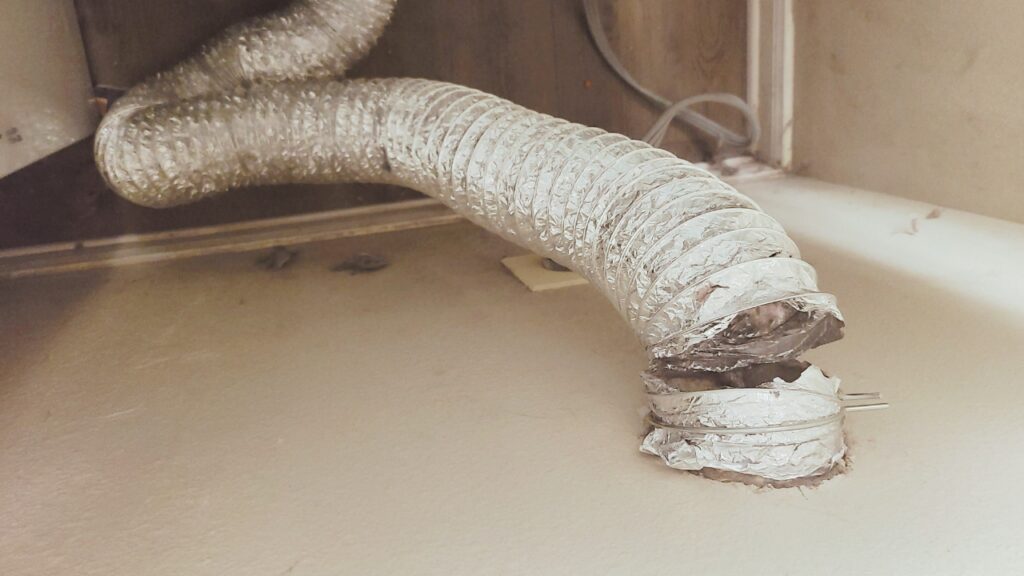
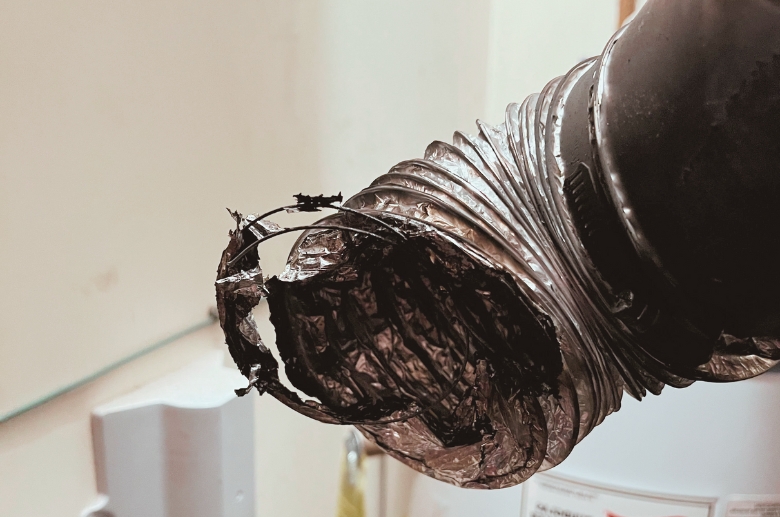
- Visible duct damage: Direct evidence of your vent needing replacement is visible damage to the duct. Tears, holes, or any deformities like crushing or crumpling are clear signs that it’s time for a replacement.
——
Do You Need to Hire Chimney & Fireplace Expert?
Get free quotes from qualified experts near you. No commitment required!
——
How To Replace Dryer Vent Hose: Step-by-Step Process
Replacing the dryer hose, while straightforward, requires attention to detail. You must be meticulous about this process because it saves your home from a potential fire often caused by dryers.
Here is your step-by-step guide to replacing the dryer hose. Have the materials ready for a smooth and quick process.
Tools and Materials Needed
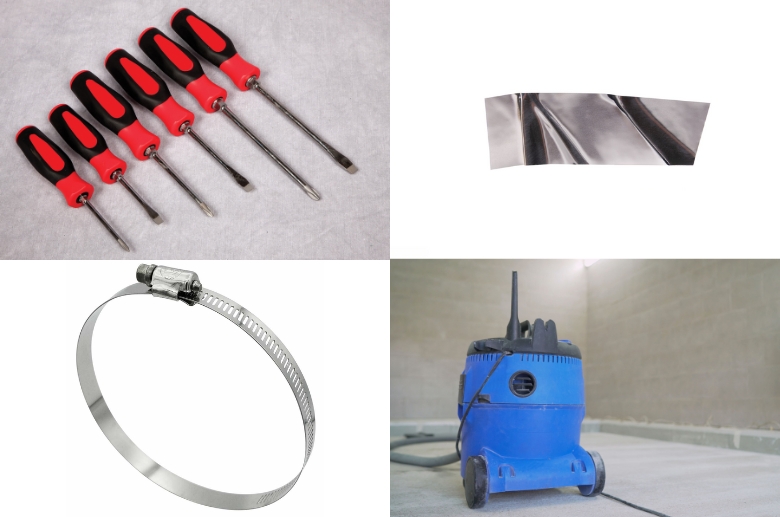
- New Dryer Vent Hose: Measure your old vent and buy the exact size for the replacement. Flexible plastic or foil hoses are the most common type of dryer vents used in households, but they tend to wear faster. Consider getting rigid metal or semi-rigid aluminum hoses, as they are durable and less prone to damage.
- Screwdriver or Nut Driver: Some vent hoses are attached to the dryer appliance with screws. You may need to use a screwdriver or nut driver to remove the current hose and attach the new one.
- Foil Tape, Duct Tape, or Metal Clamps: Duct tape or metal clamps are for securing the vent hose in place. It’s also to ensure an air-tight seal around the hose.
- Vacuum Cleaner: Use the narrow nozzle on your vacuum to clean the inside of the dryer exhaust and the hose.
Step 1. Removing the Old Dryer Vent Hose
Shut off the breaker and unplug the dryer. Pull the dryer away from the wall so you have easy access to the vent hose.
Now, you can loosen the connections attaching the hose to the dryer. You may need to use a screwdriver or nut driver to loosen the clamps that attach the vent to the dryer’s exhaust outlet. Next, disconnect the other end of the hose that goes outside.
Use a vacuum to clean out the lint inside the dryer. Also, vacuum the duct to clear out the lint inside it.
Step 2. Installing the New Dryer Vent Hose
Now it’s time to install the new vent hose. Begin by attaching one end of the vent to the dryer exhaust. Hold the vent steady as you attach the hose clamp or duct tape to secure an air-tight seal around the hose. It should feel snug.
Perform the same process for the other end of the hose, making sure that it is securely connected. The clamps or seal should be tight enough that no air can escape the vent.
Test it by pulling the hose slightly on both ends. It should not pull off easily. If it still does, you may need to retighten the clamps or seal. Once you’ve ensured that the hose is securely attached, it’s time to test the dryer.
Step 3. Testing the Dryer
Move the dryer back into place, making sure the vent hose is as straight as possible. There should only be gentle bends instead of sharp bends. Sharp bends tend to impede airflow.
Once you’ve placed the dryer in position, you can now test it.
Plug it in and turn the breaker back on. Run a short cycle to see if it’s working properly. The air should blow through the vent hood mounted outside of your house.
If you hear unusual noises or vibrations, you might be having problems with your dryer. If this is the case, you may need to seek help from a professional.
Step 4: Final Cleanup
If the test was a success and you’ve confirmed your new vent is working properly, it’s time to clean up any mess created during the replacement process. Vacuum out any lint in the surrounding area. Lint is a fire hazard, and you don’t want any of that near your dryer.
How Do I Know If My Dryer Is Venting Properly?

The best way to know if your dryer is venting properly is to check the airflow. Put your hand over the exterior vent while the dryer is running. If you can feel a strong airflow, it means it’s properly vented.
However, if it feels like there is not enough air going through, it could be a blockage or air escaping through cracks. Check that the vent is snugly attached to the dryer’s opening in the back. The hose should also not bend or kink. You may need to readjust it so that airflow is not obstructed.
It’s important to maintain the vent system properly so your dryer lasts for a long time. Ideally, your vent should be cleaned at least once a year. The more laundry you do, the more frequently you have to clean out the dryer vent.
If you’re still unsure about the reason why your dryer vent is not working as well as it used to, it’s recommended that you call a professional. They can answer questions or concerns you may have about your vent. They can do a full inspection of your dryer vent and check other areas you may have missed.
——
Do You Need to Hire Chimney & Fireplace Expert?
Get free quotes from qualified experts near you. No commitment required!
——
How Often Should You Change Your Dryer Vent Hose?
The material of your dryer vent hose plays a significant role in its lifespan. For instance, flexible plastic or foil hoses tend to wear faster, so they need to be replaced every 5 to 7 years. But if you are using rigid metal hoses, which are more durable, you can go for up to 10 years before replacing them.
Currently, there are three types of vent hoses to choose from:
- Aluminum foil hose
- Semi-rigid metal hose
- Rigid metal hose
The most popular ones are the aluminum foil duct and semi-rigid metal duct; these two are ideal to use as transition ductwork in exposed locations.
Then, there are the rigid metal ducts. This is ideal for concealed ductwork that runs in enclosed areas such as inside walls and floors. It’s more pricey than other types of vent hoses, but it’s very durable and safe to use.
Dryer vent hoses are not very expensive, so it’s inconsequential to choose the more durable option. By shopping based on quality, you ensure that your dryer gets the best possible airflow and doesn’t catch flammable lint.
Conclusion
Replacing the dryer vent is a straightforward process. Remove the hose from both ends, attach the replacement hose, and clean up. That’s it!
Aside from regular cleaning, pay attention to the early signs of wear and replace the hose promptly. It ensures that your dryer works well and won’t cause any potential hazards in your home.
Don’t hesitate to reach out to professionals if you need additional help maintaining your dryer vent.