You might already know that the National Fire Protection Association recommends having your chimney inspected and cleaned at least once a year. But did you know that chimney resurfacing is also an important step? Every homeowner with a wood-burning fireplace should periodically hire a contractor for chimney resurfacing.
You may need to do it frequently, depending on how often you use your fireplace. Resurfacing your chimney will help extend its life and prevent any severe damage. Moreover, it ensures that your chimney is working efficiently and that there is no risk of fires.
This guide will discuss everything you need to know about exterior chimney resurfacing. We will also provide a step-by-step guide on how to do it yourself.
What Is Chimney Resurfacing?
Chimney resurfacing is the process of repairing the outer layer of your chimney. Over time, your chimney will suffer from wear and tear due to weathering, animals, and general use.
To fully address these issues, chimney restoration may also be necessary, especially when structural integrity is compromised or aesthetic considerations demand more comprehensive work beyond simple repairs.
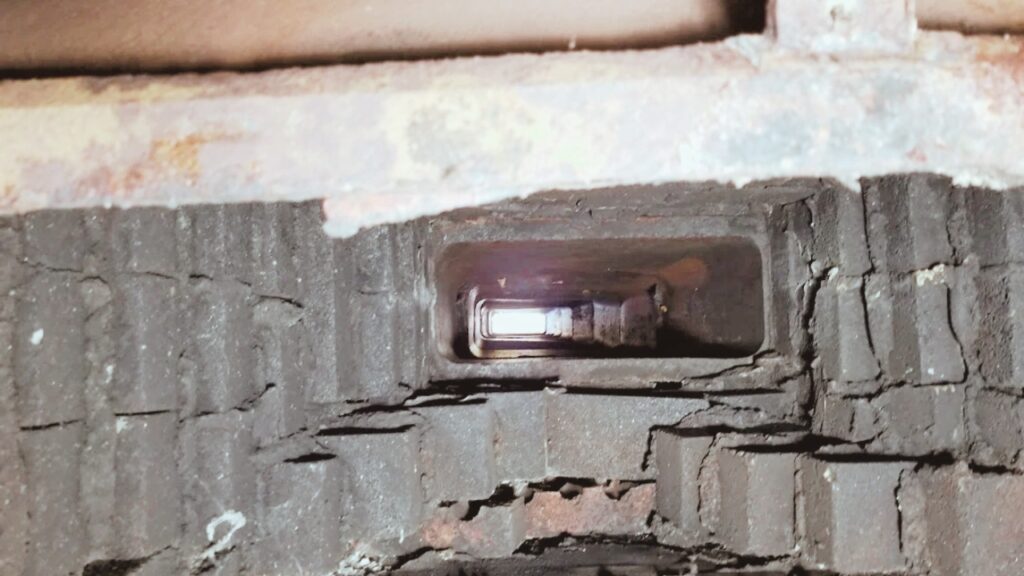
The most common type of damage is cracked or missing mortar. When this happens, it’s essential to repair the damage as soon as possible. Otherwise, water will seep into the cracks and cause even more damage.
In some cases, the damage may be so severe that you must replace the entire outer layer of your chimney. This process is known as “chimney refacing.”
Why Is Chimney Resurfacing Important?
Chimney resurfacing is vital for two reasons: safety and efficiency. These are the two most important factors to consider regarding fireplaces.
A well-functioning, high-quality chimney is the key to a safe and efficient fireplace. A chimney that is not properly functioning can be a fire hazard.
Safety
Your chimney is an integral part of your home’s structure. It keeps the fire contained and prevents dangerous gases from entering your home.
If the outer layer of your chimney is damaged, it can lead to severe problems. For example, cracks in the mortar can allow water to seep in and eventually cause the chimney to collapse. But before that happens, you can experience escalating problems with the damper, liner, and other fireplace parts.
Damaged chimneys and fireplaces are more likely to catch fire. This is because the cracks provide a path for sparks to escape. If the sparks ignite something nearby, you could face a severe house fire that destroys your property and even put your life at risk.
Therefore, it’s crucial to repair any damage to your chimney immediately. Not only will this prevent accidents, but it will also give you peace of mind that your family is safe.
Efficiency
In addition to being safe, your chimney needs to be efficient. This is because a well-functioning chimney will draw smoke from your home.
However, if you have a damaged chimney, it may not be able to do this properly. This is because the cracks can allow outside air to enter the chimney. As a result, smoke will not be drawn up and out of your home as efficiently.
In addition, a damaged chimney can also cause your heating bills to go up. This is because the heat from your fireplace will escape through the cracks and your room will be colder than it should be.
Keeping your chimney in good condition is essential to prevent wasted heat. Not to mention, it will also save you money on your energy bills in the long run.
——
Do You Need to Hire Chimney & Fireplace Expert?
Get free quotes from qualified experts near you. No commitment required!
——
When Should I Resurface My Chimney?
You should resurface your chimney when it shows signs of wear and tear. If you see cracks or chips in the brickwork or the mortar between the bricks is starting to crumble, it’s time to resurface your chimney.
Resurfacing your chimney will not only improve its appearance but will also help prolong its lifespan.
If you have questions about the best time to resurface your chimney, here are the signs you should look for:
Wear and Tear Signs on Your Chimney
Over time, your chimney bricks may develop cracks, chips, and other damage. These damages can be due to several things, such as age, poor construction, or harsh weather conditions.
If you notice any of these issues, resurfacing your chimney immediately is essential. Ignoring these issues can lead to even more damage and, in some cases, structural problems.
Leaning Chimney
A leaning chimney is often a sign of structural damage. This issue is usually caused by poor construction but can also result from water damage or other problems. A thorough inspection by a chimney company can determine why your chimney is leaning.
Using a leaning chimney can be dangerous and cause even more damage. The weight of the chimney can put too much strain on the structure, causing it to collapse.
In cases where the damage is too extensive for simple repairs, rebuilding a chimney becomes necessary to ensure safety and restore the chimney’s structural integrity. This process involves dismantling the existing structure and constructing a new chimney, following modern building standards and techniques to prevent future issues.
Missing Bricks or Stones
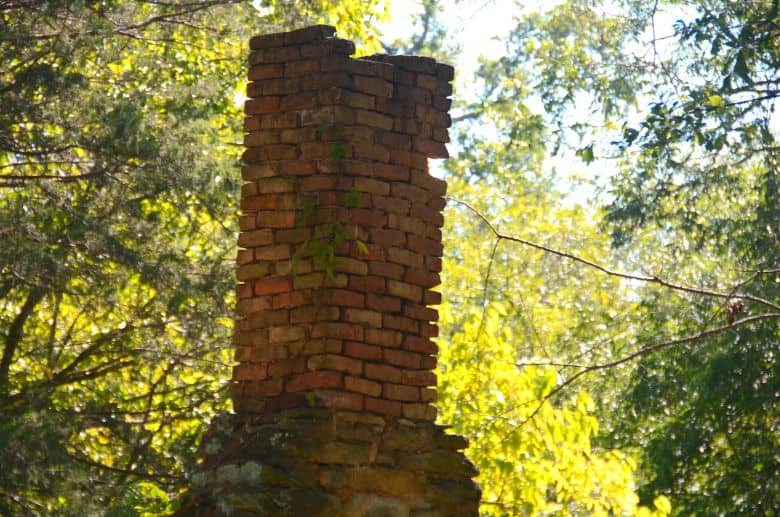
Missing bricks or stones is an issue that can occur due to poor construction, water damage, or other factors.
If you notice any missing bricks or stones, it’s essential to have your chimney resurfaced. Using a brick or stone chimney that has missing materials can be dangerous and may cause further damage to your home. Call professional chimney services to look at the missing parts and determine how bad the situation is.
Can You Reface a Brick Chimney?
In most cases, it is possible to reface a brick chimney. However, here are a few things to remember before you reface your chimney.
- Ensure the bricks are in good condition. If the bricks are damaged, it’s best to resurface the chimney.
- Check that the chimney’s structure is still sound. You might need a professional chimney inspection for this. If there is any damage to the chimney system, it’s best to resurface it.
- Have the proper tools and materials for the job. Refacing a chimney is complex; it’s best to leave it to professional contractors if you don’t have the right tools or materials.
- Finally, ensure you know what you’re doing. If you’re not confident in your ability to do the job, it’s best to leave it to a professional.
——
Do You Need to Hire Chimney & Fireplace Expert?
Get free quotes from qualified experts near you. No commitment required!
——
What Can You Reface Your Chimney With?
You have a few different options when it comes to refacing your chimney. You can use stone, brick, or stucco.
We discuss each option below and the benefits of each.
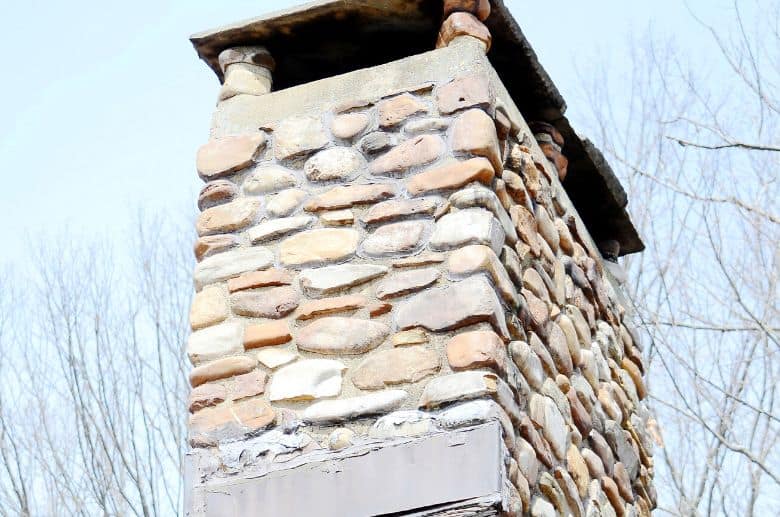
Stone Veneer
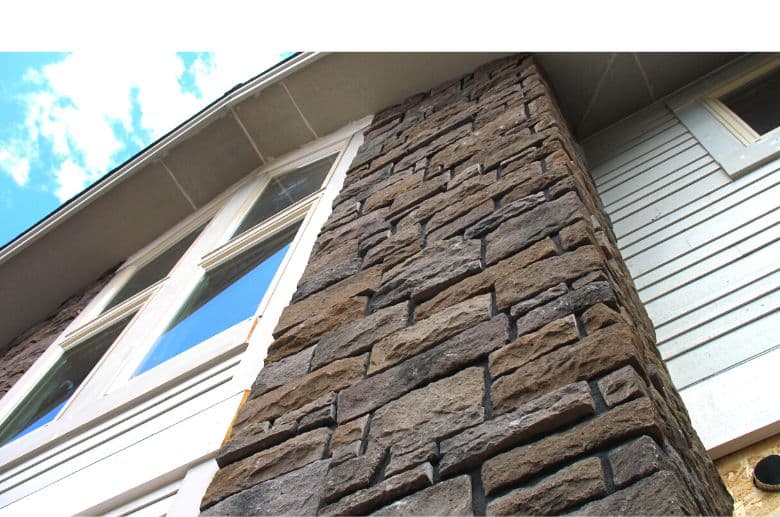
Made from thin slices of natural stone, this veneer is popular for chimney refacing. This material is available in various colors and styles, so you can find a design option that fits your home’s style.
Stone veneer is durable and easy to install, making it a great do-it-yourself project. However, stone veneer is also one of the more expensive refacing products.
Pros
- Available in a variety of colors and styles
- Durable
- Easy to install
Cons
- One of the more expensive refacing options
Stucco
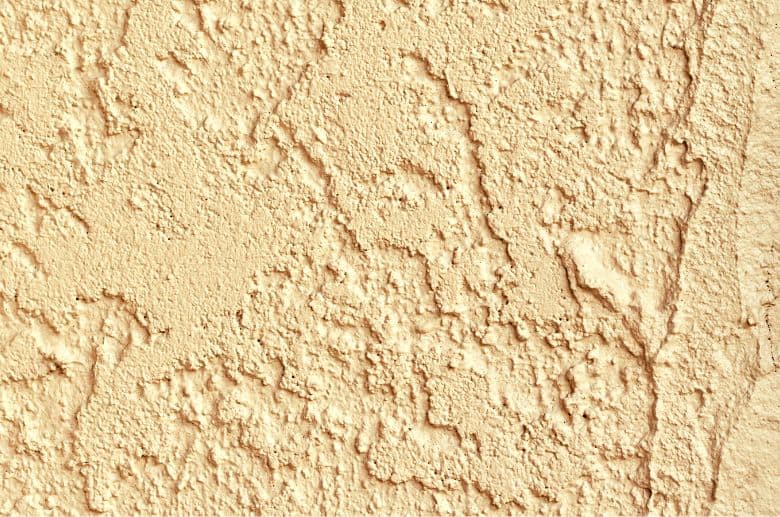
Stucco is a plaster made from Portland cement, sand, and water. You can apply it to surfaces such as masonry or wood. It is very resistant to high temperatures and makes a great heatshield.
Pros
- Very durable and can last for many years
- Resistant to fire, weather, and pests
- Low maintenance and does not require painting or sealing
Cons
- A porous material that can absorb water, leading to mold and mildew growth
- It can crack over time
- A heavy material that can stress your chimney structure
Faux Stone
Faux stone is an artificial product designed to look like natural stone. It comes in various colors and textures, so you can find an option that will complement the exterior of your home.
Pros
- Lighter than natural stone, so it is easier to work with
- Less expensive than natural stone
- Easy to clean and maintain
Cons
- Doesn’t have the same durability as natural stone
- It can fade over time
- Not as fire-resistant as natural stone
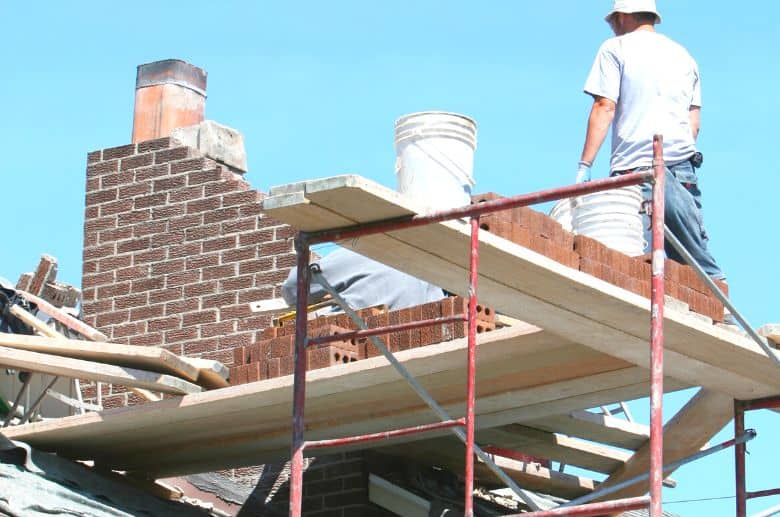
How to Reface an Old Chimney? (Step-by-Step Guide)
The term “refacing” refers to propping up the walls of your brick masonry chimney with prefabricated mortar that is pre-mixed and prepared for installation.
The water-resistant properties of the stone are another appealing feature. Stone is similar to a natural waterproofing cover or barrier that protects your existing brick masonry from moisture, which can harm it.
What You’ll Need
- A pail of clean water
- A stiff-bristled brush
- A putty knife or trowel
- Caulk (optional)
- Chimney resurfacing kit
- Resurfacing instructions
- Protective clothing and eyewear
Step 1: Inspect Your Chimney’s Interior and Exterior
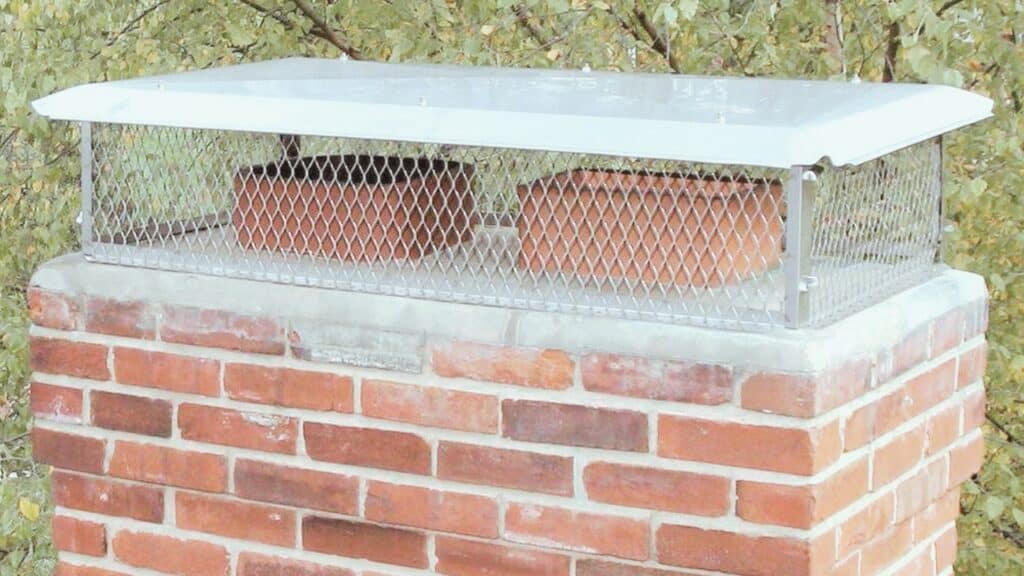
Before you begin, you first need to take a good look at your chimney. Check your chimney’s interior and exterior for any structural damage or cracks. If you notice any problems with any part of the chimney, including the chimney cap or the chimney liner, consider whether you should call a chimney sweep before you begin.
Step 2: Make Any Necessary Repairs
Once you have inspected your chimney, make necessary repairs before beginning the resurfacing process. This may include filling in any cracks or gaps with caulk or mortar, or it might mean calling in a chimney restoration business to help you.
Step 3: Prepare the Work Area
Before resurfacing your chimney, prepare the work area. This includes removing any loose debris or dirt from the chimney’s surface. It would help if you also wet down the site to help keep the dust down. Chimney cleaning is essential to ensure that the mortar adheres properly.
Step 4: Mix the Resurfacing Material
Follow the instructions included with your resurfacing kit to mix the resurfacing material. This usually involves adding water to the dry mix and stirring until it is the consistency of pancake batter.
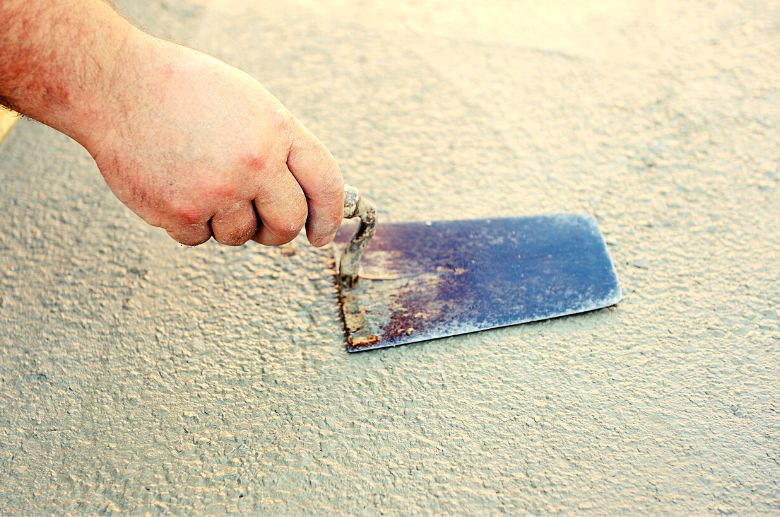
Step 5: Apply the Resurfacing Material
Once the resurfacing material is mixed, you are ready to begin applying it to the chimney. Start at the bottom of the chimney and work your way up, using a putty knife or trowel to spread the material evenly.
Step 6: Allow the Resurfacing Material to Dry
After applying the resurfacing material, allow it to dry according to the instructions in your kit, which usually takes 24 to 48 hours.
Step 7: Inspect the Resurfaced Chimney
Once the resurfacing material has dried, inspect the chimney to ensure it is smooth and even. If there are any uneven spots, you can sand them down with fine-grit sandpaper.
Chimney Refacing Cost
The cost of chimney refacing can vary depending on the size and type of chimney you have and the materials you use. Expect to pay anywhere from $500 to $3,000 for the project.
If you want to save money on your chimney refacing project, you can always use our guide on resurfacing a chimney. However, it would be best to hire a professional to carry out the service for you.
Conclusion
There are many benefits to resurfacing your chimney. A new surface will protect your chimney from the elements and improve your home’s value. Consult professionals to determine if it is the right option.