If your energy bills seem higher than expected, it might be because of your chimney flue. A poorly sealed chimney flue allows warm room air to escape. Because of this, your heating appliance will have to work harder to maintain the temperature in your house.
If this wasn’t enough to haunt you, an unsealed chimney flue also poses a safety hazard. Harmful gasses (such as carbon monoxide) can leak into your home, causing respiratory issues and even death.
The cracks in an unsealed chimney widen with time, causing significant damage to your chimney. If you’re unsure how to seal a chimney flue, we will explain the whole process.
How To Seal a Chimney Flue: A Step By Step Guide
Here’s a breakdown of how to seal a chimney flue in 7 simple steps:
Step 1: Gather Your Tools and Clean the Flue
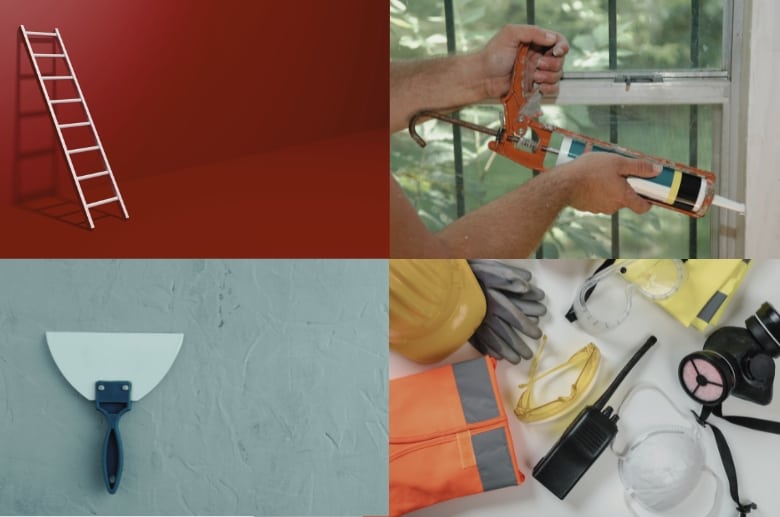
Equip yourself with the right tools. You will need the following:
- Sturdy ladder
- Protective gear: Work gloves, safety goggles, and a safety mask
- Chimney sealant or silicone-based caulk
- Chimney cap
- Jointing spatula
- Flashlight and mirror
- Chimney brush
- Scissors to cut the chimney cap
- Rags that you don’t mind throwing away later
- Vacuum
- Impact driver or power drill
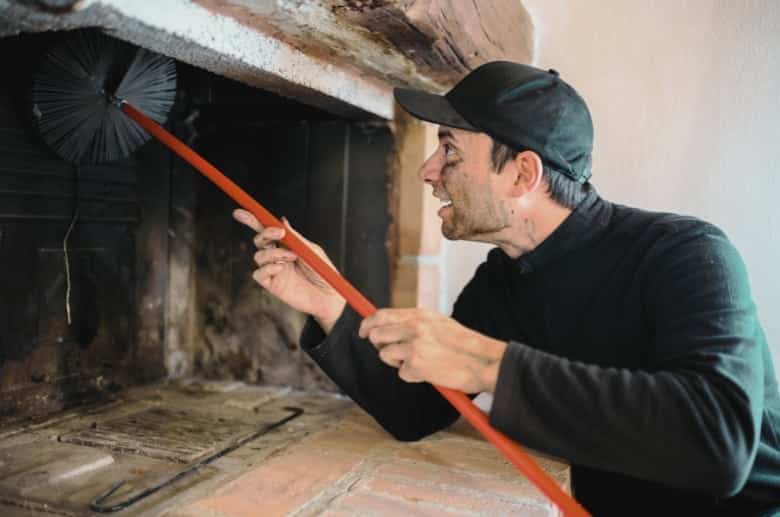
Using the chimney brush, begin cleaning debris and soot from the top of the chimney until you reach the bottom of the flue. Use a vacuum to get rid of excess dirt.
After cleaning, use the flashlight to inspect the chimney. Make sure to check all corners and crevices for possible water damage. If you see moist or damp areas, that’s your cue that there’s a problem that requires professional assistance.
——
Do You Need to Hire Chimney & Fireplace Expert?
Get free quotes from qualified experts near you. No commitment required!
——
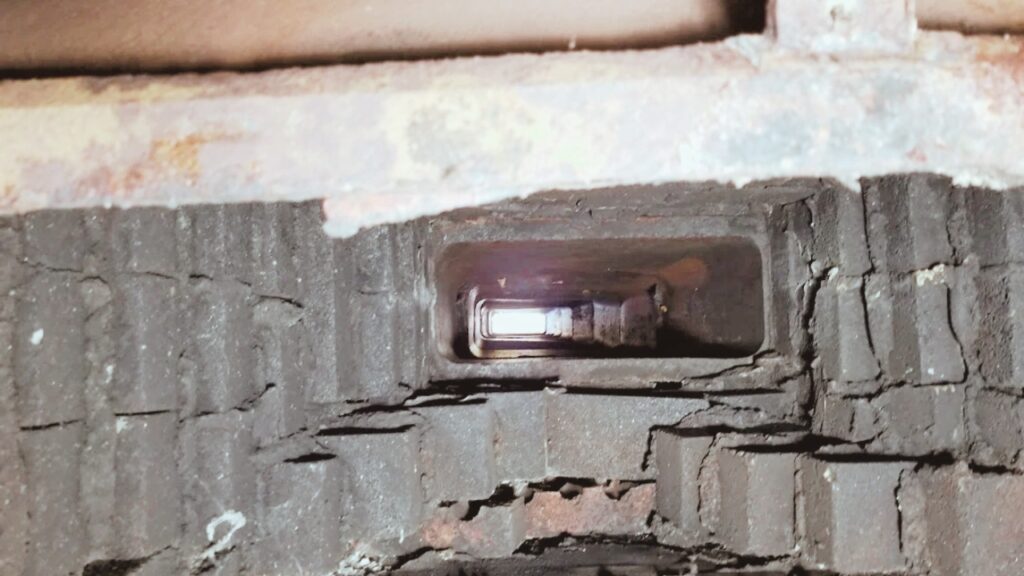
Step 2: Assess The Condition of Your Chimney Flue
Assessing and identifying possible cracks in your chimney flue is essential in sealing it. If you proceed without proper inspection of your chimney flue, you might miss cracks or areas of damage. This leaves the problem unaddressed.
To inspect your chimney flue:
- Open the damper by turning the knob (near the fireplace) clockwise. If there’s a rod, push the rod up to open the damper. Since there are different types of dampers, you might get confused about how to open yours. You can check out this resource on types of chimney dampers to learn how to open each type of damper.
- Once the damper is open, use a mirror and a flashlight.
- Shine the flashlight and use the mirror to inspect your chimney flue visually.
- Ideally, your chimney flue should be smooth. If there are any cracks, blockages, or damaged areas, that’s what you need to fix.
Step 3: Seal The Chimney Flue
The US Department of Energy reports that chimney flue sealants can successfully reduce energy consumption and air leakage by 15%. This is why you shouldn’t ignore or delay sealing your chimney flue.
Sealing damaged areas is not that hard. Just follow the steps below:
- Purchase a heat-resistant silicone caulk (applicable on chimneys).
- Test it out on a piece of paper to see its consistency.
- Apply a generous amount of caulk on the gaps and cracks in the chimney flue. Remember to apply in a continuous motion to prevent air pockets.
- Use the jointing spatula to smooth the caulk, ensuring it penetrates the cracks and spreads evenly.
- Cover a small surface area first and fill it before going on to bigger ones.
- Use a cloth or a rag to wipe off excess caulk.
If your chimney is blocked or not properly maintained, it might suffer from draft problems. Improper air flow may result in carbon monoxide poisoning or energy loss. To prevent this, check to see if you can easily open and close your damper. If not, your damper might be stuck.
Call a chimney sweep to inspect it to see where the problem lies. In some cases, you’ll need a bit of cleaning, and it’ll become operational. In other cases, you might need to install a new damper.
Step 4: Allow The Sealant To Dry
Do not use your fireplace until the sealant dries completely. Let the sealant do its thing. Using the fireplace before the sealant has dried will reduce the sealant’s effectiveness and expose the cracks or gaps again.
On average, sealants take 24-48 hours (depending on the product) to dry. The drying process also depends on the humidity in your area.
Homeowners should reapply chimney sealants once every five years. To ensure the sealant stays on for the longest time possible, get regular inspections and cleanings.
Remember, it’s not always possible for homeowners to fix chimney deterioration and damage themselves. Consult a professional if you feel like the problem is above your skill set.
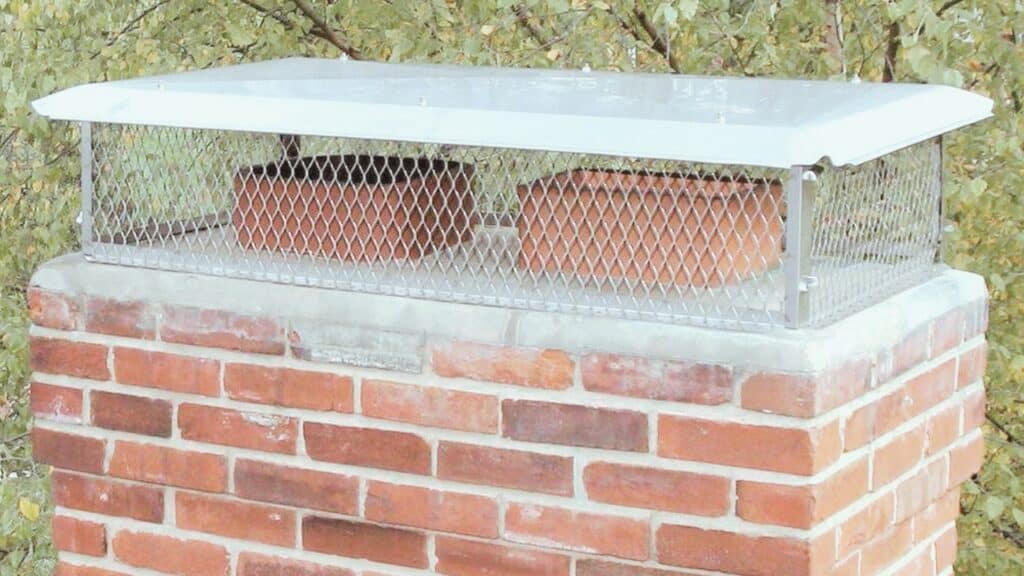
Step 5: Install a Chimney Cap To Prevent Water From Entering The Flue
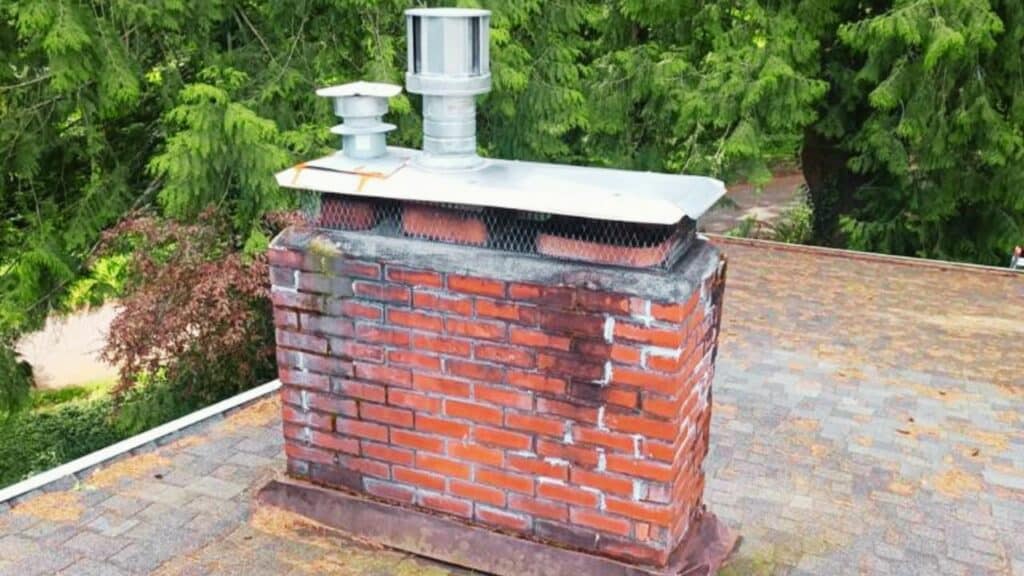
Installing a chimney cap is a fail-safe way to prevent rainwater or debris from entering through your chimney flue. If your chimney doesn’t have a cap, install one by following the steps below:
- Measure the length and width of the flue opening and purchase a chimney cap according to the measured dimensions.
- Clean the exterior with a cloth to ensure the chimney cap sticks easily.
- Place the cap slowly, making sure that it fits and covers your chimney properly.
- Screw the self-tapping sheet metal screws (provided with the cap) using an impact driver or power drill.
- Use a generous amount of caulk to seal the edges of the chimney cap. This is necessary to prevent water from sneaking through the gaps.
- To do a test run, pour water onto the chimney cap and see where it goes.
Step 6: Test Your Chimney Flue Performance
Next comes checking whether the sealing process was a success or not. Light a match near the flue opening. If it flickers and goes off, there is a leak in the chimney flue.
You can reapply caulk to ensure that the chimney is properly sealed. Adjustments are needed since caulk deteriorates over time due to weather conditions.
——
Do You Need to Hire Chimney & Fireplace Expert?
Get free quotes from qualified experts near you. No commitment required!
——
Step 7: Maintain Your Sealed Chimney Flue
Inspecting the chimney periodically or calling in professionals once every 6 months (at least annually) is essential to avoid expensive repairs.
Furthermore, neglecting or postponing repairs poses a risk to your loved ones. A blocked or poorly sealed chimney will not function properly until the problem is treated. Consequently, removing soot, creosote, or debris helps reduce energy bills and minimizes the likelihood of carbon monoxide poisoning and house fires.
If you don’t make repairs right away, the problems will worsen over time since the weather will continue to widen the gaps and cracks in your chimney. In the long run, this may cost you more than what you wanted to spend in the first place.
With proper maintenance, regular inspections, and timely repairs, you can extend the lifespan of your chimney flue by more than 10 years. Routine inspections will help diagnose issues before they worsen, and since repairs are made in a timely manner, the damage will be kept to a minimum.
Conclusion
Sealing a chimney properly is essential if you want to save on high energy bills and provide sufficient heating in your home. Some of these steps might be difficult, so don’t shy away from seeking professional help at any point.
Let experts handle it instead of causing more damage or hurting yourself in the process.