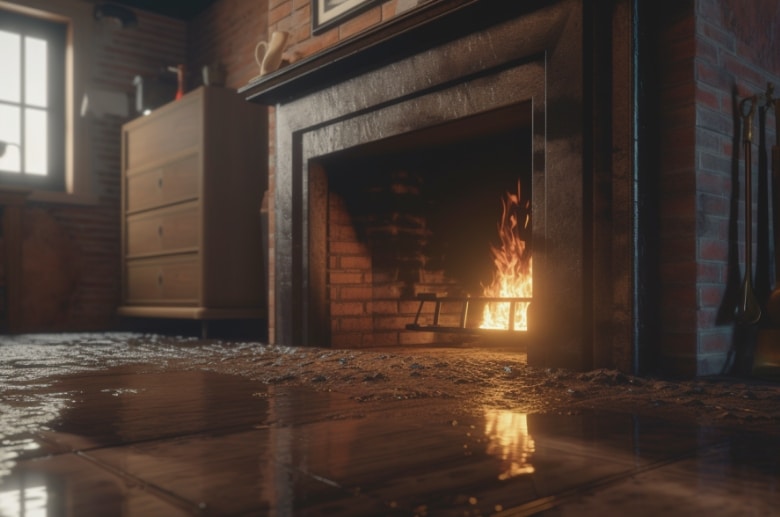
Do you notice water entering your house through the chimney? Chances are, you have a bad chimney flashing that requires repair or replacement.
Unprofessional roofing contractors often use low-grade materials (such as aluminum or copper), which lose their integrity over time, resulting in the roof and flashing leaks. It’s important to deal with flashing leaks as soon as possible. If you ignore the problem, the leaks become larger, causing structural damage and mold growth.
But before we discuss how to fix a chimney flashing leak, let’s talk about the signs of a flashing leak so that you can spot the issue before it causes a lot of damage.
Signs of a Chimney Flashing Leak
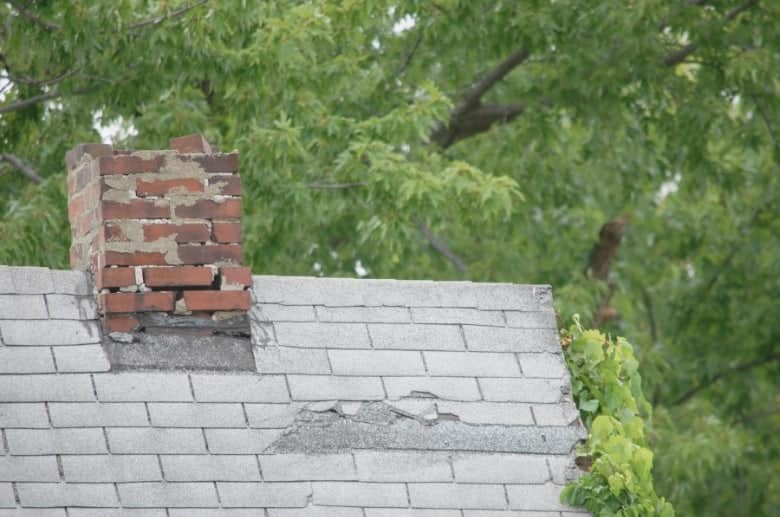
Are you wondering when should chimney flashing be replaced? If you notice one or all of these signs, climb up to your rooftop to check your chimney flashing.
If there are a few small leaks, fix them immediately by following our step-by-step guide. But if the damage is too severe, such as large cracks, it’s best to consult a professional chimney repair service.
- Water Stains: Water stains are not easy to miss. Exposure to extreme weather conditions can cause a chimney flashing to break or corrode, resulting in water stains around the fireplace.
- Musty Odors: If you smell a strong, musty odor near your fireplace after a good rain, this is another sign of a chimney leak. Chimneys carry creosote, soot, and other materials that produce a musty odor upon contact with water.
- Dripping Water: Do you often hear the sounds of dripping water when it rains? Chances are, the chimney flashing is leaking. Follow the direction of the dripping water to follow the leak back to the chimney flashing.
——
Do You Need to Hire Chimney & Fireplace Expert?
Get free quotes from qualified experts near you. No commitment required!
——
How to Fix a Chimney Flashing Leak: Step-By-Step Guide
If the problem with your chimney flashing is small, you can fix it yourself. Here’s how.
Tools and Materials Needed For Repair
Repairing a chimney flashing leak requires a specific set of tools:
- Flashing – The flashing material should match the existing roof and chimney materials.
- Sealant – A compatible sealant will provide an additional layer of protection.
- Ladder
- Wire brush
- Safety gloves, goggles, and a mask
- Tiles
- Roofing cement ( solvent, butyl, or asphalt-based); the type depends on your roof
- An appropriate caulking gun
- Trowel (to spread sealant)
Safety Precautions
Repairing a chimney flashing is dangerous because you’re working in an area where you could easily fall. Any missed step or small error can result in a serious injury. If you believe this exceeds your skills, it is best to rely on professionals.
However, if you fix it independently, don’t forget to wear safety gloves and goggles and use a steady ladder. Working with a partner to assist during the process is also a good idea.
Step 1: Locate the source of the leak
Before repairing the chimney flashing, clear anything that might obstruct the removal or replacement of the flashing. Use a wire brush to clear debris, tiles (if need be), and plant life from the surrounding area so you can fix the chimney flashing.
Measure the flashing before you begin in case it needs to be replaced.
Now that the roof is cleared inspect the chimney flashing. Watch out for signs of damage, corrosion, gaps, or cracks.
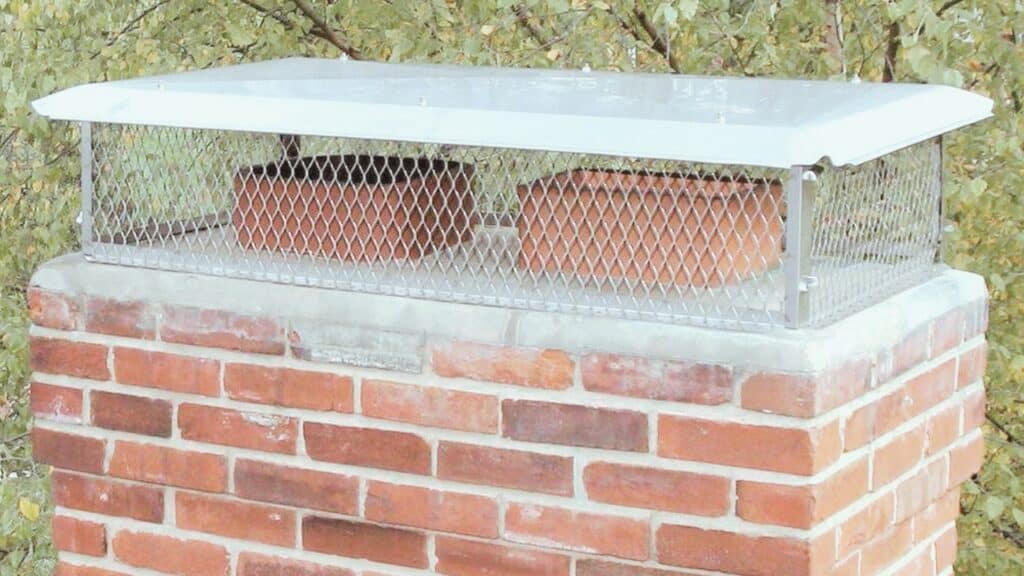
Next, inspect the chimney cap. If the cap is damaged or loosely connected, this could be the place where water leaks through the chimney. Look for cracks in the chimney cap as well.
Now examine the roof. Pay close attention to the area surrounding the chimney. Leaks are common where roof planes intersect, so don’t forget to check them out.
This step can be time-consuming, but finding the source of the leak is important for four main reasons:
- Preventing structural damage: Water leakage can put a dent in the structure of your house. Leakages lead to foundation issues and wood rot, and they demand costly repairs.
- Health risks: Mold and mildew thrive in damp environments. Over time, they can trigger allergies and lead to respiratory issues.
- Safety hazard: If water comes into contact with electrical components, it can produce a short circuit and potentially lead to a fire.
- Reducing further damage: By locating the source of the leak, you can effectively prevent the problem from worsening.
Step 2: Repair the leak
During the inspection step, you noticed the condition of the flashing. Consult a professional chimney repair service if it’s heavily damaged or corroded throughout. But if the flashing is in relatively good condition, you can follow the steps below:
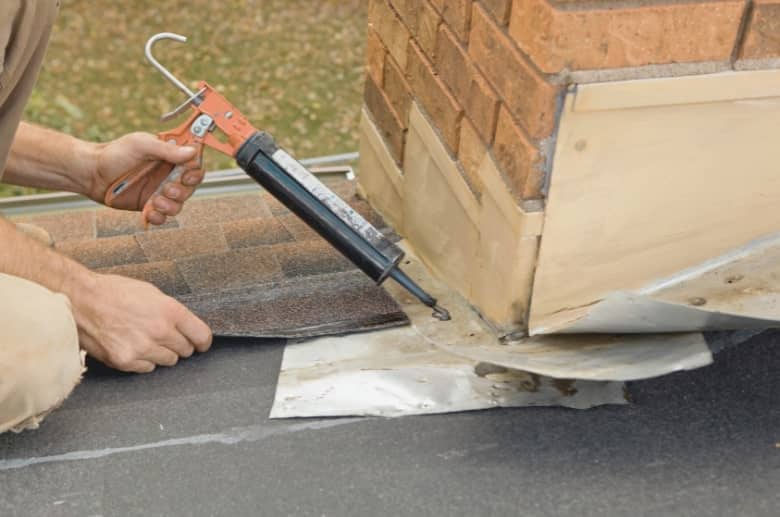
- Fill the caulking gun with a sealant (your choice of sealant depends on the roofing materials and compatibility of the roof). Apply a generous amount of sealant, covering the edges of the flashing where it intersects with the roof and the chimney.
- Pay close attention to gaps and cracks. Fill them with sealant. To ensure the sealant makes its way through to the base of the crack, use a trowel to tamp it down. Spread the sealant to cover all gaps.
- Apply an additional layer of sealants over the joints and seams of the flashing. Use a trowel or your fingers to help (remember to wear gloves).
If some of the flashing is damaged beyond repair, you may need to replace it. For that, do the following:
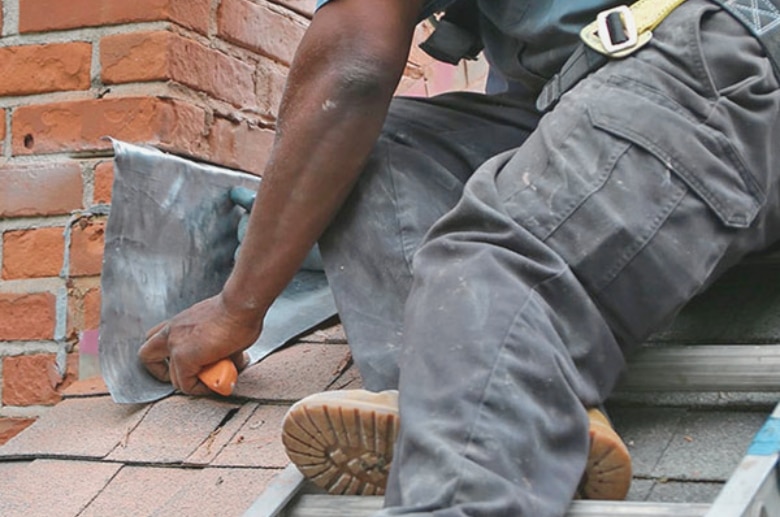
- Carefully remove the old flashing and put it aside.
- Place the new flashing, and secure it with the roofing nails or screws that came with the flashing.
- Apply a generous amount of sealant over the edges of the new flashing to ensure a tight seal.
- Allow the sealant to dry completely. Generally, sealants take at least two hours to dry completely.
Here are some tips to ensure an effective repair:
- While using the sealant, cement, or replacing the new flashing, read and follow the guidelines provided by the manufacturer.
- Ensure the current step is complete before moving on to the next one. For example, while applying the sealant, ensure that it fills all the gaps and cracks to prevent leakage in the future. Only then should you move ahead.
- After the repair, inspect the flashing regularly and watch out for new leaks.
- Use the right sealant and roofing cement. The sealant should be compatible with your roofing materials. Check the label carefully.
Step 3: Prevent Future Leaks
Regular chimney maintenance is a big part of preventing leaks. Although leaks occur even if you maintain your chimney regularly, the severity of the leaks will be considerably less compared to a chimney that is not maintained.
——
Do You Need to Hire Chimney & Fireplace Expert?
Get free quotes from qualified experts near you. No commitment required!
——
Here’s how to prevent future leaks:
- Do not sit on the chimney flashing leak signs. Early detection of issues is crucial in preventing the leaks from getting worse, leading to costly repairs or professional intervention.
- Remove leaves, loose debris, and other objects from obstructing the chimney and flashing. You can use a broom to clean the debris to prevent water from pooling and deteriorating the flashing.
- Inspect your chimney and flashing every six months. Watch out for signs of wear and tear, rust, or corrosion near or on the flashing. Upon noticing any of these issues, make repairs then and there.
- Hire a professional chimney sweep to conduct annual chimney inspections.
Sealing the chimney flashing is easy, but a few tips can increase the efficiency of the sealant.
- Clean the flashing. Remove dust, debris, plants, or rust from the flashing. This is crucial because debris or rust can reduce the efficiency of the sealant.
- Apply a generous amount of sealant to cover all the gaps and cracks. Use a caulking gun to optimize the sealing process.
- Let it dry. The drying time will be mentioned on the sealant’s packaging. Follow the manufacturer’s advice and allow the sealant to do its thing. That might mean waiting until a stretch of dry, sunny days to make the repair.
- Do not select a random sealant. Choose the one that is compatible with your roofing materials. Read the label carefully and ask a pro if you’re still unsure which one is right for your needs.
Cost of Chimney Flashing Repair
If you choose to repair the leak on your own, the process will cost between $50 to $200. But the overall cost depends on the quality of the materials you use and the severity of the leak. The flashing material, roofing cement/sealant, caulking gun, gloves, ladder, etc., could cost you a fair bit.
If you hire a professional to repair your chimney, expect to pay around $150 for minor repairs and $500 or more for major leaks. The cost may vary depending on the severity of the leakage and the local labor costs.
Conclusion
Chimney flashing leaks are common but can be avoided if a chimney is regularly maintained. If you notice unusual water stains near the ceiling, smell a pungent musk near the fireplace, or hear water dripping sounds, your chimney flashing might be leaking.
Repairing it calls for finding the root cause, replacing or sealing the current flashing, and maintaining the chimney flashing to prevent future leaks.
If you are uncomfortable with the repair process, relying on professionals is best.