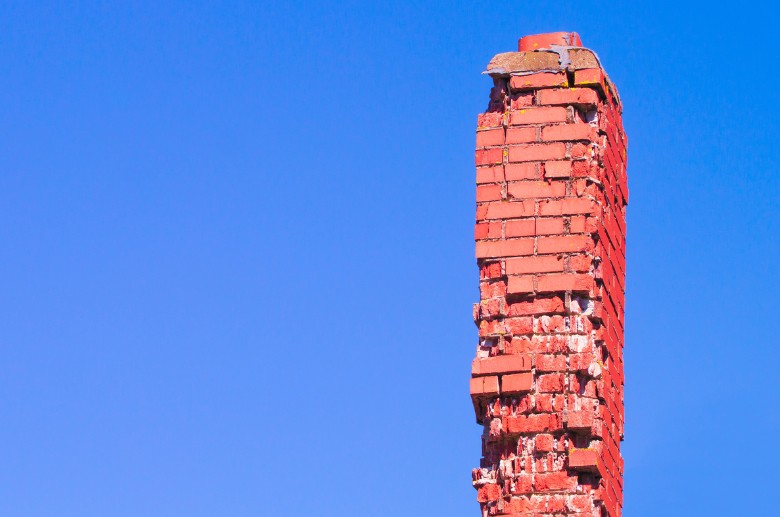
Imagine your chimney as the silent guardian of your home, standing tall and resolute through rain, wind, and snow, much like a loyal sentinel. It’s a steadfast companion, ensuring your comfort and safety, all while enduring the ravages of time and the elements.
But even the most valiant guardians require a helping hand now and then, and your chimney is no exception. In this chimney repair guide, we’ll uncover the secrets of preserving this vital component of your home.
Let’s dive in!
How To Repair A Chimney: DIY Scenarios
Before you get to the chimney repair process, you must understand what you need for the repairs. Let’s assess some of the essentials.
Tools Needed for DIY Chimney Repair
Ensure you have the right tools before starting your DIY damaged chimney repair. Here’s a list of tools you will need :

- Chimney Brush: This tool is crucial for scraping off the creosote buildup inside the chimney.
- Extension Rods: These can be fastened to the chimney brush to reach throughout the entire chimney length.
- Protective Goggles and Gloves: Always wear protective gear to prevent debris from entering your eyes and protect your hands.
- Ladder: You need this to access the top of your chimney and roof.
- Masonry Tools: Trowels, mortar mix, and bricks may be required if the chimney repair involves masonry work.
Safety Measures for DIY Chimney Repair
Undertaking DIY chimney repair comes with potential risks, and your safety should always be the top priority. Here are a few safety measures to remember:
- Always Use Protective Gear: Wear goggles and gloves to protect yourself from debris.
- Proper Ladder Usage: Make sure your ladder is sturdy and positioned safely before climbing to the top of your chimney. Never overreach while on the ladder.
- Don’t Work Alone: Have someone else around while you work on your chimney. They can provide support, hand you tools, and call for help in an emergency.
——
Do You Need to Hire Chimney & Fireplace Expert?
Get free quotes from qualified experts near you. No commitment required!
——
1. Chimney Crack Repair
The first step in DIY chimney repair is to inspect the chimney for cracks. These steps include:
- Step 1: Chimney Inspection – Utilize a ladder to access the entire structure, looking for superficial and deep cracks that may extend into the chimney’s structure.
- Step 2: Assess the Damage – Before diving into repairs, determine the extent of the damage. Knowing the scope of the issue will help you plan your repair strategy effectively.
- Step 3: Prepare the Repair Area – Clear the area around the crack of any dust and debris. This step is crucial to ensure proper adhesion of the repair material to the chimney’s surface.
- Step 4: Apply Refractory Mortar – Once the area is prepared, apply the refractory mortar to the crack. Use a trowel to spread the mortar, ensuring it fills the crack evenly. Depending on the crack’s depth, you may need to apply multiple layers of mortar.
- Step 5: Smooth the Surface – Use the flat edge of the trowel to achieve a smooth surface finish. This step enhances the repair’s appearance and ensures it functions effectively.
- Step 6: Follow Drying Instructions – Allow the mortar to dry per the manufacturer’s instructions. This crucial step ensures the repair sets properly and can withstand the chimney’s heat.
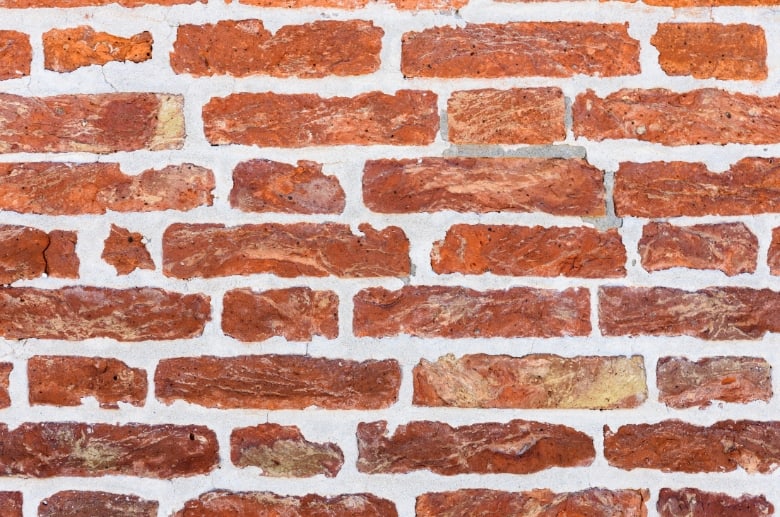
2. Chimney Brick Repair
Brick repair on a chimney, particularly for spalling bricks, requires a method known as repointing. Spalling occurs when water enters brick, concrete, or natural stone, forcing the surface to peel, pop out, or flake off.
- Step 1: Identify and Prepare: Identify the spalling brick on your chimney. Spalling is characterized by peeling, popping out, or flaking of the brick surface due to water damage. Gather all the necessary materials and tools for the repair.
- Step 2: Safety Precautions: Use appropriate safety gear, including safety glasses and work gloves, to protect yourself during the repair process.
- Step 3: Remove the Damaged Brick: Carefully position the chisel at the mortar joints surrounding the damaged brick. Use a hammer to gently tap the chisel, gradually working around the brick to loosen it from the surrounding mortar. Be extremely cautious not to damage the neighboring bricks in the process.
- Step 4: Clean the Area: After removing the damaged brick, thoroughly clean the space left behind. Remove any loose mortar, debris, and dust to strengthen the new brick’s bond.
- Step 5: Prepare Mortar Mix: Mix the mortar according to the manufacturer’s instructions. Ensure it has the right consistency for bonding the new brick.
- Step 6: Apply Mortar to the Hole: Apply a generous amount of mortar to the bottom and sides of the hole left by the removed brick using a trowel. Ensure the mortar covers the surfaces evenly.
- Step 7: Insert the New Brick: Carefully slide the new brick into place, ensuring it fits snugly into the hole and aligns with the surrounding bricks. Apply additional mortar as needed to fill gaps between the new brick and the existing structure.
- Step 8: Remove Excess Mortar: Use your trowel to remove any excess mortar from the surface around the new brick. Smooth out the area to create a neat and uniform appearance.
- Step 9: Cover and Dampen: Cover the new brick with a breathable material, such as burlap, to promote proper curing and prevent the mortar from drying too quickly. Keep the burlap damp by misting it with water regularly for at least three days. This slow-drying process helps make the mortar stronger and less prone to cracking.
- Step 10: Final Inspection: After the mortar has fully cured, inspect the repaired area to ensure it’s secure and the new brick is firmly in place.
3. Mortar Joint Repair (Repointing)
Repointing, or “tuckpointing,” renews deteriorated mortar joints between bricks or masonry. This maintenance is crucial to prevent water infiltration and maintain the structural integrity of the masonry. Here’s a step-by-step guide to repointing mortar joints effectively.
- Step 1: Safety Precautions: Wear protective goggles and gloves before starting the repointing process.
- Step 2: Assess the Mortar Joints: Examine the existing mortar joints to identify areas that require repointing. Look for deteriorated or weathered mortar that needs replacement.
- Step 3: Remove Old Mortar: Use a chisel and hammer to remove the old and damaged mortar between the bricks. Be cautious not to damage the surrounding bricks. Aim to create a clean, uniform depth for the new mortar.
- Step 4: Mix New Mortar: Typically, a common mix ratio is 3 parts sand, 1 part cement, and 1 part lime. Mix the dry materials thoroughly before adding water gradually. Add water until you achieve a workable consistency where the mortar holds its shape without being too wet or crumbling.
- Step 5: Rest the Mortar Mix: Allow the mix to rest for approximately 15 minutes. This resting period allows the ingredients to blend fully and the mix to reach an optimal consistency for application.
- Step 6: Apply the New Mortar: Press the newly mixed mortar firmly into the cleaned joints using a pointing tool or a small handheld trowel. Ensure complete coverage and fill all gaps.
- Step 7: Smooth the Joints: With the edge of your trowel, smooth the mortar joints to match the existing ones. This step helps maintain a uniform and aesthetically pleasing appearance.
- Step 8: Clean Excess Mortar: As you work, periodically clean off any excess mortar from the brick faces using a mason’s brush or a wet sponge. This helps prevent mortar stains on the bricks.
- Step 9: Allow for Drying: Follow the manufacturer’s instructions for your specific mortar mix. Typically, allow the mortar to set and dry for the recommended time.
- Step 10: Final Inspection: Inspect the repointed mortar joints for any imperfections or gaps. Touch up any areas as needed to ensure a seamless finish.
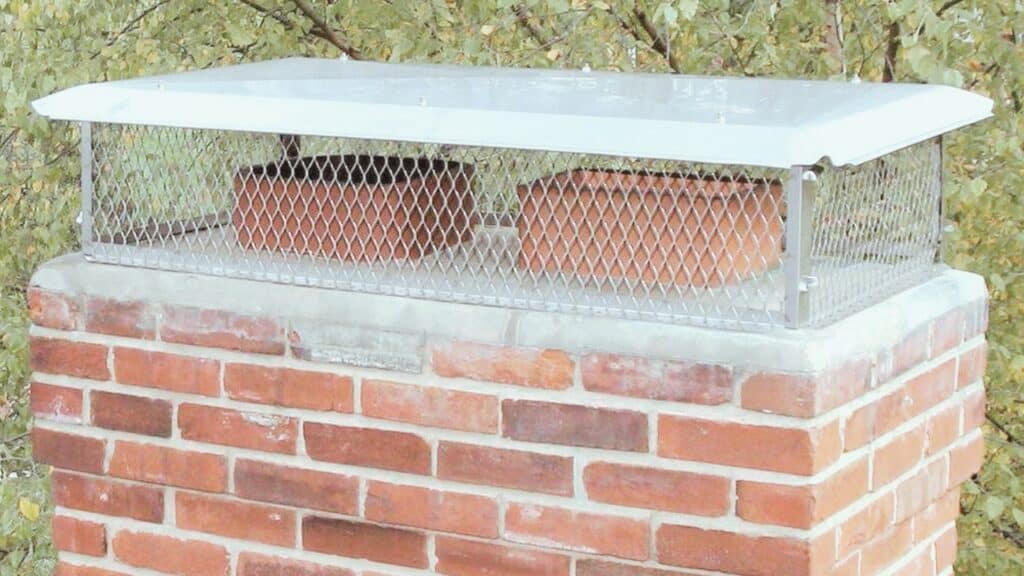
4. Chimney Cap Installation

A crucial aspect of chimney repair is installing a chimney cap. Chimney caps protect your chimney from water damage, block downdrafts, and prevent animals from nesting there. Here are the steps to follow.
- Step 1: Choosing the Right Chimney Cap: Chimney caps come in various materials, including stainless steel, copper, and galvanized steel. The size and shape of the cap should match your chimney for a proper fit.
- Step 2: Tools Required for Chimney Cap Installation: The tools for chimney cap installation typically include a ladder, caulk/adhesive, and a drill with a masonry bit. Some chimney caps may have special fasteners; always check the manufacturer’s instructions.
- Step 3: Installation Process: Begin the installation by measuring the crown of your chimney. The crown is the top surface where the cap will be placed. Apply the adhesive to the bottom of the cap and place it onto the crown of the chimney.
- Step 4: Securing the Chimney Cap: Once the cap is in place, drill pilot holes using a masonry bit and secure the cap with screws or other fasteners as the cap’s manufacturer provides.
- Step 5: Final Check: Finally, check to make sure the cap is secure and stable. Recheck the installation after a few days to ensure the adhesive is set properly and the cap is still secure.
By properly installing a chimney cap, you are safeguarding your chimney from potential damage and unnecessary repairs. Hence, it plays a key role in protecting the chimney and ensuring its longevity.
——
Do You Need to Hire Chimney & Fireplace Expert?
Get free quotes from qualified experts near you. No commitment required!
——
DIY Chimney Repair vs. Hiring a Professional
The most common repairs for a chimney are fairly straightforward, and many homeowners may opt to do it themselves. However, while basic repair work is achievable with the right tools and materials, a professional should handle more serious damage.
When is DIY Chimney Repair Possible?
DIY chimney repair is possible for minor problems such as cracks, spalling bricks, or deteriorated mortar. DIY repairs are also suitable when the damage isn’t causing any smoke-related issues and there’s no risk of further structural damage.
Ensure all tools and materials necessary for the repair job are available before attempting a DIY project.
Potential Risks and Complications of DIY Chimney Repair
Because you’re not a professional, there’s an increased risk of making mistakes. Before attempting DIY chimney repairs, here are some risks and potential complications.
- Fire Safety: Chimneys are a conduit for hazardous gasses and heat from your home. If repairs are not done properly, there’s a risk of fire breaking out, resulting in severe damage to your home and potential harm to the residents.
- Carbon Monoxide Exposure: Improper chimney repairs can lead to poor ventilation, causing this lethal gas to accumulate in your home. This risk emphasizes the need for professional handling of chimney repairs.
- Structural Integrity Concerns: If the repairs are not done correctly, you can cause further damage to the chimney structure, necessitating costly repairs in the future. Additionally, a faulty chimney could undermine the structural integrity of your home, posing a potential safety risk.
- Working Safely at Heights: DIY enthusiasts may not have the necessary training or equipment to work at high elevations safely. There’s a grave risk of accidents and injuries without the right safety measures.
It’s best to contact a professional chimney repair service if these risks are present.
Regulations and Compliance
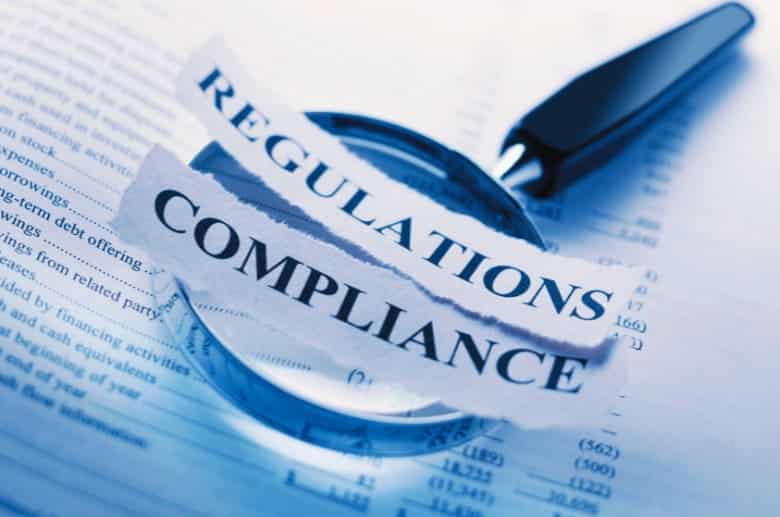
Now, let’s consider regulations and compliance. Specific regulations may sometimes apply to chimney repair, and we explain the details below.
Building Codes and Regulations
Local, state, and federal authorities establish building codes and regulations mandatory in all construction and repair tasks, including chimney repairs. These codes stipulate the minimum standards for building design and construction, including fireplaces and chimneys, to ensure the safety and health of the residents.
Non-compliance with these building codes during a DIY repair could result in fines, penalties, and the requirement to redo the work. Furthermore, it can cause issues when selling your home as potential buyers or their inspectors may demand compliance.
Professional Licensing and Certification
Professional chimney repair contractors usually hold licenses and certifications demonstrating their field competence.
These credentials are provided by recognized bodies in the industry, such as the Chimney Safety Institute of America (CSIA), which ensures that professionals follow the best practices and maintain the highest safety standards in all their work.
Homeowners doing DIY repairs don’t usually have these certifications, which could mean a lack of necessary skills and knowledge to perform comprehensive and safe chimney repair. Major repairs requiring specialized skills should be left to licensed and certified professionals.
Cost Comparison
The cost factor is often a significant determinant when deciding between DIY and professional chimney repair. DIY repairs can be less expensive initially as you save on labor costs.
However, this does not account for purchasing necessary tools and materials, some of which may be expensive and not readily available for homeowners.
Hiring a professional could seem costly upfront, but it includes their expertise, labor, materials, and guarantees on the work done. Additionally, improper repairs can lead to more severe damage and future costs.
Time Investment
DIY repairs require a significant time investment. Homeowners have to learn about the repair process, purchase materials, and carry out the repair itself, which can be time-consuming, especially for novices.
With their experience and expertise, professionals can complete the same task in a shorter time frame. They also have the right tools and materials, eliminating the need for multiple trips to the hardware store.
Skill Level
The complexity and danger involved in chimney repairs require a high skill level. DIY enthusiasts can handle minor repairs without causing more damage. However, major repairs such as chimney relining or rebuilding require professional skills, training, and specialized tools.
Hiring a professional also ensures adherence to building codes and safety standards, which the average homeowner may not be aware of. Thus, while DIY repairs may sound appealing, professional services provide more assurance that a job is done correctly and safely.
——
Do You Need to Hire Chimney & Fireplace Expert?
Get free quotes from qualified experts near you. No commitment required!
——
The Importance of Routine Inspection and Maintaining a Healthy Chimney
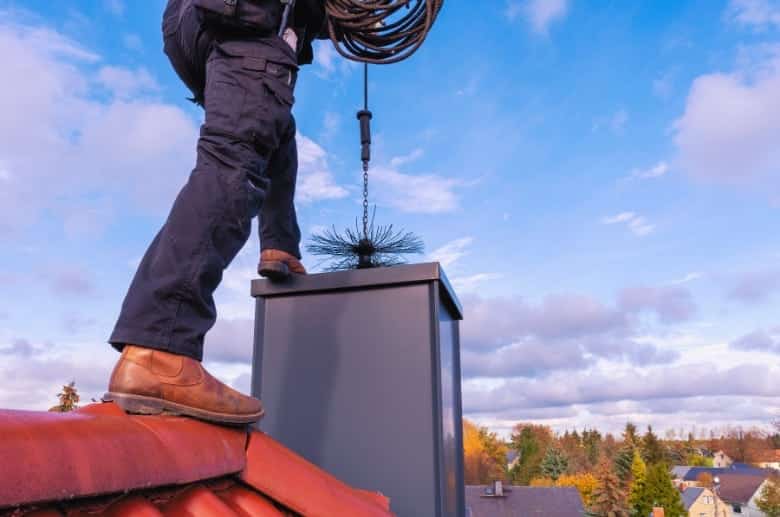
The National Fire Protection Association (NFPA) recommends annual inspections and chimney cleaning by certified chimney sweeps to maintain the safety and performance of your chimney. Here are some benefits of regular chimney inspections:
Home Safety Issues
Caring for your chimney isn’t just about preserving its aesthetic appeal or maintaining its function; it’s fundamentally about ensuring your home’s and its occupants’ safety. Ignoring chimney maintenance may lead to severe problems, including the risk of house fires and carbon monoxide poisoning.
Identification of Problems
Routine inspection by a chimney sweep is pivotal in identifying potential problems early. Experts can spot signs of wear and tear, minor damage that could escalate into significant issues, and obstructions in the chimney that may impede the proper release of dangerous gasses. Early detection prevents small problems from becoming costly repairs.
Potential Savings
Investing in regular chimney inspections and timely professional repairs can lead to considerable savings in the long run. By catching and rectifying issues early, you avoid the high costs of extensive damage repairs. Furthermore, a well-maintained chimney operates more efficiently, reducing energy costs.
How to Choose a Chimney Repair Service
Now that we’ve gone through the various considerations when thinking about chimney repair, choosing a trusted and reliable service is essential. Below are some factors you should consider when selecting a professional contractor:
Professional Credentials and Certifications
Confirm that the service team has all the necessary licenses and certifications for chimney repair work in your area. Additionally, look for certifications from organizations like CSIA to ensure competency and adherence to industry safety standards.
Customer Reviews and Ratings
Read customer reviews online and request referrals from friends, family, and neighbors. This will give you a good idea of the contractor’s work quality, customer service, and reliability.
Better Business Bureau (BBB) Rating
The BBB offers independent ratings and reviews of businesses across the US. It also monitors customer complaints and disputes, giving valuable insight into a company’s reputation.
Range of Services Offered
The company should offer a broad range of services related to chimney repairs, such as inspection, cleaning, rebuilding, and relining. This ensures they can address any issues you encounter with your fireplace or chimney.
Experience and Expertise
Hiring experienced professionals who have been in the business for many years pays. Look for a contractor with a proven track record of successful projects and satisfied customers.
Pricing
When interviewing contractors, request detailed cost estimates for their services. This will help you compare prices and better understand potential costs associated with your project.
Guarantees and Warranties
Finally, ask questions about guarantees and warranties offered by the contractor. This demonstrates their confidence in their work and gives homeowners peace of mind, knowing that any issues arising from the repair work will be promptly addressed.
Post-Repair Maintenance Tips
Some maintenance tips you should follow after the chimney repair is complete include:
Cleaning Schedule
Regular cleaning helps clear out soot, creosote, and other debris that can accumulate over time and obstruct airflow. We recommend cleaning the chimney at least once a year, preferably before winter when the fireplace is used most.
Professional Inspections
While regular cleaning is important, having your chimney inspected by professionals each year is equally necessary. This helps identify minor issues before they escalate into major problems.
Weatherproofing
Weatherproofing includes installing a chimney cap to keep out rain, snow, and animals and waterproofing the exterior with a specialized sealant to prevent water intrusion and damage.
Fire Safety Practices
Adhere to fire safety practices when using your chimney. Use seasoned hardwood to reduce creosote buildup, and keep the fire size reasonable to prevent overheating the chimney. Always ensure the damper is fully open when you have a fire.
What is the Average Cost of a Chimney Repair?
The average cost of a chimney repair project depends on the job’s complexity, the materials used, and labor costs. Repairs typically range from $500 to $3,000 or more. DIY projects are generally cheaper, estimated between $100 and $300. However, hiring professionals is often worth the cost for convenience and guaranteed quality work.
More factors affect chimney repair costs. The following table breaks down different parts of chimney repair and their potential costs.
| Type of Repair | Average Cost |
| Chimney repointing | $5-$25 per square foot. |
| Flue repair | $70-$100 per square foot. |
| Chimney crown repair | $170-$350 for minor repairs and $2,500+ for a crown replacement. |
| Flue liner repair | $600-$6,500 or more, depending on the extent of damage. |
Conclusion
The importance of chimney repair and maintenance cannot be overstated. It encompasses various tasks, from simple fixes to complex restorations, that should be left in the hands of professionals.
The complexity, safety concerns, and quality of work required all underscore the need for expert intervention. Apart from ensuring a well-functioning chimney, professional repairs prolong the life of your chimney, enhancing the safety and comfort of your home.
Contact us today for a free consultation and get the help of experienced professionals to ensure your chimney is in excellent condition.